Introduction
Welcome to our guide on the best cellular trail cameras. Whether you’re a nature enthusiast, a property owner, or just curious about this technology, you’re in for an informative ride.
In this article, we’ll explain how cellular trail cameras work and help you choose the right one. We’ve done the research and provided unbiased reviews of top models. Plus, we’ll share tips for setup and efficient use. By the end, you’ll have the knowledge to pick the perfect cellular trail camera for your needs. Let’s begin!
How Cellular Trail Cameras Work
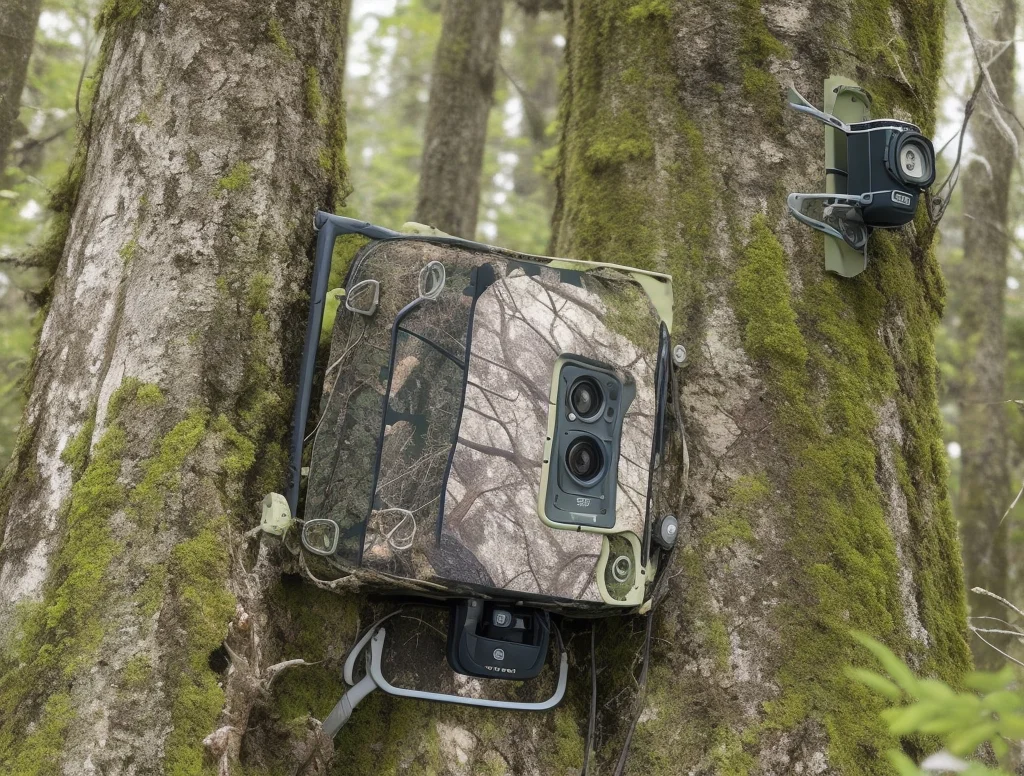
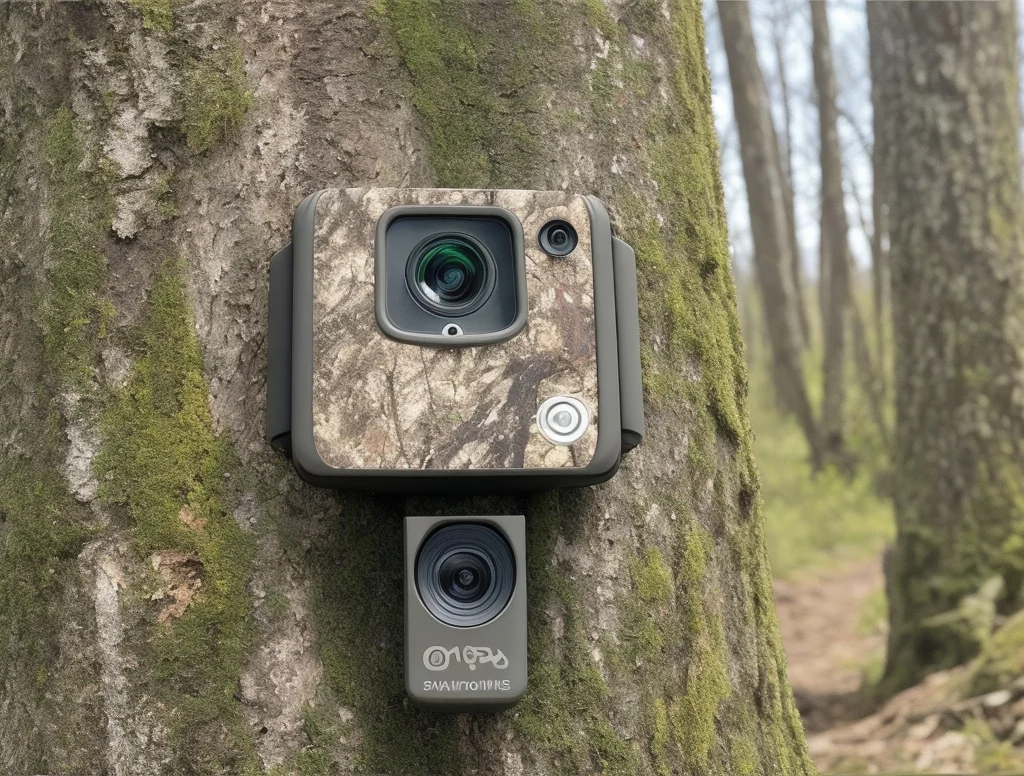
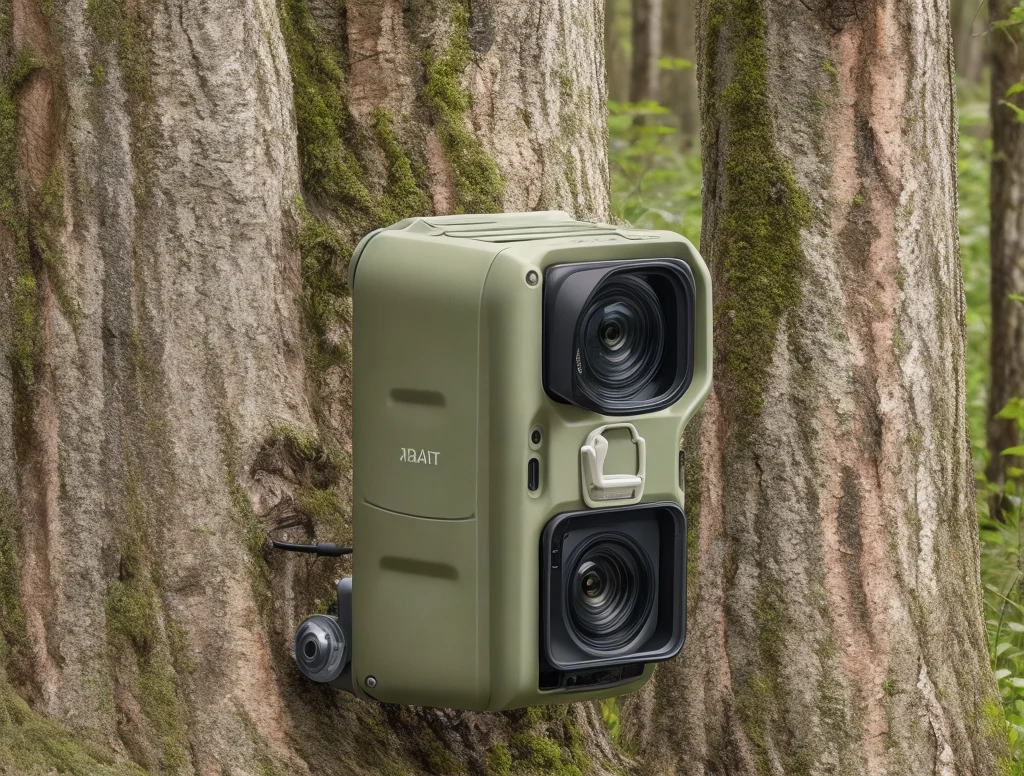
Let’s demystify how these cellular trail cameras work. Imagine it as a digital eye in the wilderness. When the camera detects motion or captures an image, it sends that data via a cellular network to your device. This means you can view photos and videos remotely, in real time, from the comfort of your home. It’s like having a wildlife observer right at your fingertips, 24/7.
Factors to Consider When Choosing a Cellular Trail Camera
When you’re on the hunt for the best cellular trail camera, it’s essential to weigh several crucial factors. Let’s break them down:
Image Quality: Think about the level of detail you need in your photos and videos. Higher resolution cameras offer clearer images but may consume more data.
Trigger Speed and Detection Range: Consider how quickly the camera captures an image when motion is detected. A faster trigger speed is great for capturing fast-moving wildlife. The detection range determines how far the camera can sense motion.
Cellular Network Compatibility: Ensure the camera is compatible with the cellular network in your area. Some cameras work with 4G or 3G networks, so check your coverage.
Battery Life and Power Options: Assess how long the camera’s batteries can last, especially in extreme weather conditions. Some models offer options for solar panels or external battery packs to extend battery life.
Subscription Plans and Costs: Cellular trail cameras require a data plan to transmit images. Investigate the available subscription plans and their costs to find one that fits your budget.
Durability and Weather Resistance: Consider where you’ll place the camera and choose one that can withstand the elements. Look for cameras with durable, weather-resistant housing.
Additional Features: Explore extra features like night vision, GPS, and video recording, which can enhance your camera’s capabilities for specific purposes.
By carefully evaluating these factors based on your specific needs, you can narrow down your options and find the ideal cellular trail camera to suit your outdoor or security needs.
How to Set Up and Use a Cellular Trail Camera
Cellular trail cameras have revolutionized wildlife monitoring, property surveillance, and outdoor photography. They offer remote access to photos and videos, making them a valuable tool for a variety of applications. To help you make the most of your cellular trail camera, here’s a step-by-step guide on how to set it up and use it effectively.
Step 1: Choose the Right Location
Before you start setting up your cellular trail camera, it’s crucial to choose the right location. Consider your specific purpose, whether it’s wildlife observation, security, or scenic photography. Ensure the camera is well-hidden and positioned to capture the desired area. Look for signs of animal activity, such as tracks or trails, and place the camera nearby.
Step 2: Insert Batteries and Memory Card
Most cellular trail cameras run on batteries, so make sure to insert fresh ones. Check the camera’s user manual for the correct battery type and installation instructions. Additionally, insert a compatible memory card to store captured images and videos.
Step 3: Power On the Camera
Turn on the camera using the designated power button or switch. Some models may require you to navigate through the menu to enable the cellular function. Follow the camera’s instructions for turning on the cellular feature and connecting to a cellular network.
Step 4: Configure Camera Settings
Access the camera’s menu to configure settings according to your preferences. Common settings include image resolution, trigger speed, detection range, and interval between photos. Adjust these settings based on your specific needs and the target wildlife or area you’re monitoring.
Step 5: Set Up Cellular Transmission
To enable remote access, you’ll need to configure the cellular transmission settings. This typically involves selecting a cellular network provider, setting up a data plan, and inputting any necessary access codes or credentials. Follow the camera’s instructions and consult the user manual for guidance on this step.
Step 6: Test the Camera
Before leaving the camera unattended, conduct a test to ensure it’s functioning correctly. Walk in front of the camera’s sensor to trigger it and verify that it captures images or videos as expected. Check the image quality and make any necessary adjustments to the camera’s positioning or settings.
Step 7: Regularly Check Your Camera
Once your cellular trail camera is set up and in place, regularly check the images and videos it captures. Many cameras allow you to access these remotely through a dedicated app or website. Monitor the camera’s battery life and replace batteries as needed. Ensure the memory card has sufficient space for new recordings.
Step 8: Maintenance and Troubleshooting
Periodically check the camera for any physical damage, dirt, or debris that may obstruct the lens or sensors. If you encounter any issues with the camera’s performance, consult the user manual for troubleshooting tips.
By following these steps, you’ll be well-equipped to set up and use your cellular trail camera effectively, whether it’s for wildlife observation, property security, or capturing breathtaking moments in nature. Enjoy the convenience of remote monitoring and stay connected to the great outdoors with your cellular trail camera.


Tips for Maximizing Cellular Trail Camera Efficiency
Cellular trail cameras offer convenience and remote access to wildlife or security footage, but optimizing their efficiency is crucial for the best results. Here are some valuable tips to help you make the most of your cellular trail camera:
1. Strategic Placement:
Position your camera strategically to capture the target area effectively. Focus on game trails, watering holes, or specific points of interest where you expect wildlife activity. Proper placement ensures you get the shots you want.
2. Height and Angle:
Mount the camera at the right height and angle. Ensure it’s at the eye level of the animals you want to capture. Adjust the angle to avoid glare or direct sunlight interfering with the lens.
3. Test and Adjust:
Conduct a test run to fine-tune camera settings. Walk in front of the camera to check the detection range and ensure it captures subjects within the frame. Adjust settings like sensitivity and trigger speed as needed.
4. Data Usage Management:
Monitor your data usage closely, especially if you have a limited data plan. Configure the camera to send lower-resolution images or reduce the number of photos transmitted. Some cameras offer time-lapse modes, which can be less data-intensive.
5. Battery Management:
Extend battery life by using lithium batteries, which perform better in extreme temperatures. If available, use an external power source or solar panel to keep the camera running longer without battery changes.
6. Clear Vegetation:Trim or clear vegetation that might obstruct the camera’s view. Overgrown branches or tall grass can trigger false alarms or block the lens, resulting in missed shots.
7. Regular Maintenance:
Visit the camera periodically to check its condition. Clear spider webs, dirt, or debris that could affect the camera’s sensors or lens. Ensure the camera remains securely mounted.
8. Security Measures:
Secure your camera with a lock or cable to deter theft. Some cameras offer security boxes to protect them from tampering or vandalism.
9. Firmware Updates:
Stay up-to-date with firmware updates provided by the camera manufacturer. These updates often include bug fixes and improvements that can enhance the camera’s performance.
10. Check Network Signal:
Ensure your camera has a strong cellular network signal. If you experience connectivity issues, consider using an external antenna or relocating the camera to an area with better reception.
By following these tips, you can optimize the efficiency of your cellular trail camera, ensuring you capture high-quality images and videos while conserving data and battery life. Whether you’re using it for wildlife monitoring, security, or outdoor photography, these guidelines will help you get the most out of your camera.
Case Studies and Real-Life Applications
Let’s explore some captivating real-life examples and applications of cellular trail cameras:
Wildlife Research: Imagine tracking elusive wildlife without disturbing them. Researchers use these cameras to study mating behaviors, migration patterns, and rare species, providing invaluable insights into the natural world.
Property Security: For homeowners and landowners, cellular trail cameras offer added security. They help identify potential threats, monitor trespassing, and even capture evidence of wildlife damage, providing peace of mind.
Hunting and Game Management: Hunters use these cameras to scout hunting locations, understand animal behavior, and improve hunting success. They also aid in game management, contributing to wildlife conservation efforts.
Outdoor Photography and Education: Nature enthusiasts and educators capture stunning wildlife photos and videos. Whether documenting natural processes or creating educational content, these cameras offer a unique view of the world outdoors.
Livestock and Ranching: Farmers and ranchers remotely monitor their livestock, check on birthing animals, and ensure their well-being. These cameras act as an extra set of eyes on the farm, especially in remote areas.
Citizen Science: Enthusiasts contribute to citizen science projects by sharing their camera data. This data helps researchers and organizations gather vital information about wildlife populations and behaviors.
These real-life applications showcase the versatility and impact of cellular trail cameras. Whether for scientific research, enhancing security, improving hunting outcomes, or simply appreciating nature, these cameras play a vital role in various scenarios. As you explore these case studies, you’ll find inspiration for your unique use of a cellular trail camera.
Cost Considerations
Now, let’s delve into the financial aspects of choosing the best cellular trail camera:
Initial Camera Cost: Consider the upfront cost of the camera itself. High-quality cameras with advanced features may come with a higher price tag, while more budget-friendly options are available. Your budget will play a significant role in your decision.
Data Plan Expenses: Cellular trail cameras rely on data plans to transmit images and videos. Investigate the available data plans offered by cellular providers. Prices can vary based on data limits, transmission frequency, and other factors. Choose a plan that aligns with your needs and budget.
Additional Accessories: Factor in any additional accessories you may need. These could include mounting brackets, external batteries, solar panels, or security enclosures. These accessories can add to the overall cost but may enhance the camera’s performance.
Subscription Costs: Some cameras require subscription fees to access advanced features or cloud storage for your images and videos. Be aware of these ongoing costs when budgeting for your cellular trail camera.
Maintenance and Repairs: Consider potential maintenance or repair costs over time. While well-maintained cameras can last for years, it’s wise to set aside a budget for occasional maintenance or repairs.
Total Cost of Ownership: When evaluating the cost, look at the total cost of ownership over the camera’s expected lifespan. This includes the initial purchase, data plan fees, subscriptions, and any additional expenses.
Return on Investment: Think about the value the camera provides. Whether it’s for wildlife research, security, or other purposes, weigh the benefits against the costs. A camera that helps you achieve your goals may be worth a higher upfront investment.
Budget Flexibility: Determine how flexible your budget is. While a more expensive camera may offer advanced features and better performance, it’s essential to balance your budget with your specific needs.
By carefully considering these cost-related factors, you’ll be better prepared to choose a cellular trail camera that not only fits your budget but also delivers the functionality and features you require. Finding the right balance between cost and performance is key to a satisfying investment.
Reviews of the Best Cellular Trail Cameras
Moultrie Mobile Edge Cellular Trail Camera 2 Pack
Features and Specifications
The Moultrie Mobile Edge Cellular Trail Camera 2-Pack offers an array of impressive features:
Auto Connect Technology: Seamlessly connects to the strongest signal across multiple networks for reliable performance.
Built-in Cloud Storage: No need for SD cards; it has built-in and unlimited cloud storage accessible via the Moultrie Mobile app.
High-Quality Imaging: Captures sharp 33MP photos and HD 720p videos, ensuring exceptional image quality day and night
Night Vision: Enhanced IR LED setup provides clear night shots up to 80 feet, eliminating grainy images.
Power Options: Operates on 8 or 16 AA batteries for flexibility. Compatible with the Moultrie Mobile Solar Power Pack (sold separately).
Easy Setup: Activation is a breeze with a simple QR code scan, eliminating complicated instructions.
Warranty and Support: Enjoy a 2-year warranty and access to U.S.-based support seven days a week via phone, chat, and email.
Pros:
Auto Connect Technology: The camera seamlessly connects to the strongest signal across multiple networks, ensuring reliable performance in remote locations.
Built-in Cloud Storage: With built-in and unlimited cloud storage, you can access your game photos through the Moultrie Mobile app, eliminating the need for SD cards.
High-Quality Imaging: The camera captures sharp 33MP photos and HD 720p videos, delivering exceptional image quality both day and night.
Night Vision: An enhanced IR LED setup provides clear night shots up to 80 feet, ensuring high-quality nighttime images without graininess.
Power Options: It offers flexibility with the choice of running on 8 or 16 AA batteries. Additionally, it’s compatible with the Moultrie Mobile Solar Power Pack (sold separately).
Easy Setup: Activation is straightforward with a QR code scan, eliminating complicated setup instructions and saving time.
Warranty and Support: Enjoy peace of mind with a 2-year warranty and access to U.S.-based support seven days a week via phone, chat, and email.
Cons:
Cost: The initial investment for the Moultrie Mobile Edge Cellular Trail Camera 2-Pack may be higher than some other trail cameras on the market.
Additional Accessories: While the camera offers impressive features, some accessories, such as the Moultrie Mobile Solar Power Pack, are sold separately, adding to the overall cost.
Data Plans: To utilize the camera’s connectivity features fully, you may need to subscribe to a data plan, which could involve ongoing costs.
Cloud Dependency: The camera relies on cloud storage, which may not be suitable for users who prefer local storage options or have limited internet connectivity in their monitoring areas.
Battery Consumption: Cellular cameras can consume more power, especially when actively transmitting images and videos, which may require frequent battery changes or the use of external power sources.
Buy from Amazon
Conclusion
Cellular trail cameras are versatile tools with diverse applications. Our reviews have provided insights into the best models, while tips on setup, efficiency, and cost considerations have equipped you for informed decisions. These cameras bridge the gap between us and nature, offering unique experiences in wildlife observation, security, and more. As you embark on your trail camera adventures, may you capture unforgettable moments and achieve your goals. for more Check out our in-depth articles for further articles
Happy trails!


